Revolutionize Your Craft: The Ultimate Guide to Digitizing Embroidery Design has become a game-changer for artists, designers, and entrepreneurs in the United States. As technology continues to evolve, the traditional art of embroidery is being transformed through digital tools that allow for precision, scalability, and creativity. Whether you’re a seasoned embroiderer or just starting out, digitizing your designs can elevate your work to new heights. This guide will walk you through the essentials of digitizing embroidery, from understanding the basics to mastering advanced techniques.
Understanding the Basics of Embroidery Digitizing
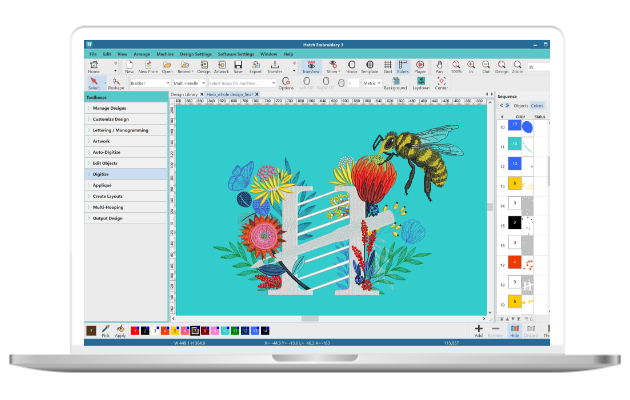
Embroidery digitizing is the process of converting a design into a digital format that can be read by an embroidery machine. This involves translating the visual elements of a design—such as lines, shapes, and colors—into stitch data that the machine can follow. The result is a precise and consistent embroidered piece that maintains the integrity of the original artwork.
The first step in this process is selecting the right software. There are several programs available, such as Wilcom, Hatch, and Embird, each offering different features and levels of complexity. For beginners, user-friendly options like Embird are ideal, while professionals may prefer more advanced tools like Wilcom for greater control over stitch types and densities.
Choosing the Right Design for Digitizing
Not all designs are equally suited for embroidery. When selecting a design to digitize, consider factors such as complexity, color count, and the type of fabric you’ll be using. Simple line drawings or bold patterns often translate well into embroidery, while intricate details or gradients may require additional techniques to achieve the desired effect.
It’s also important to think about the purpose of the design. If you’re creating a logo for a business, clarity and simplicity are key. On the other hand, if you’re working on an artistic piece, you may have more flexibility to experiment with textures and stitches.
Preparing Your Design for Digitizing
Before you begin the digitizing process, it’s crucial to prepare your design properly. This includes adjusting the size, resolution, and color palette to ensure compatibility with your embroidery machine. Most embroidery software allows you to scale your design to fit the desired dimensions, but it’s important to maintain the aspect ratio to avoid distortion.
Additionally, you should optimize your design by simplifying complex elements and reducing the number of colors if possible. This not only makes the digitizing process smoother but also helps to minimize the time and cost associated with stitching.
Mastering Stitch Types and Techniques
One of the most exciting aspects of embroidery digitizing is the ability to choose from a wide range of stitch types. Common stitches include satin stitches for smooth fills, running stitches for outlines, and fill stitches for textured areas. Each stitch type has its own advantages and limitations, so it’s essential to understand how they affect the final outcome.
For example, satin stitches are ideal for creating solid color areas, but they require careful planning to avoid puckering or distortion. Fill stitches, on the other hand, can add depth and dimension to a design but may need additional stabilizers to prevent shifting during the stitching process.
Testing and Refining Your Design
Once your design is digitized, it’s important to test it before producing the final product. Most embroidery software allows you to preview your design on a virtual hoop, giving you a chance to see how the stitches will look on the fabric. This is also an opportunity to identify any issues, such as overlapping stitches or incorrect color placement.
If you’re working on a large project, it’s advisable to create a small sample first to ensure that the design looks good on the intended fabric. This can save time and materials in the long run, especially if adjustments are needed.
Tips for Successful Embroidery Digitizing
To get the best results from your digitizing efforts, consider the following tips:
– Use high-quality images or vector files to ensure clarity and detail.
– Adjust the density of stitches based on the fabric type and design complexity.
– Utilize stabilizers to prevent puckering and ensure even stitching.
– Keep your design within the maximum hoop size of your embroidery machine.
– Regularly update your software to take advantage of new features and improvements.
By following these guidelines, you can streamline your workflow and produce professional-grade embroidery that meets your creative vision.
Expanding Your Creative Horizons
Digitizing embroidery design opens up a world of possibilities for artists and businesses alike. With the right tools and techniques, you can bring your ideas to life with precision and efficiency. Whether you’re creating custom apparel, home decor, or promotional items, the ability to digitize your designs gives you the power to innovate and stand out in a competitive market.
As you continue to explore the world of embroidery digitizing, remember that practice and experimentation are key to mastering this skill. By staying informed about industry trends and investing in quality tools, you can revolutionize your craft and achieve remarkable results.
