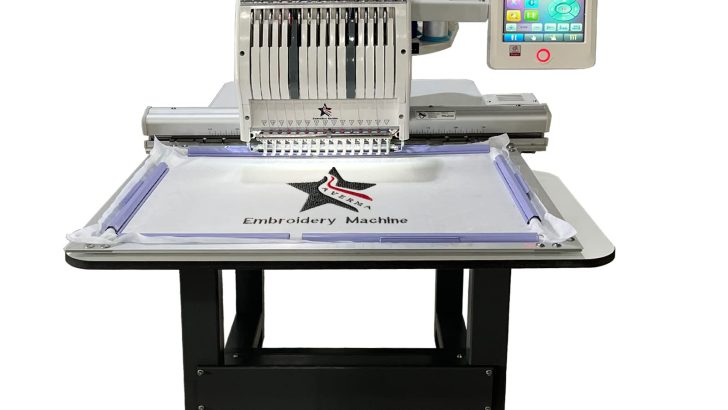
Computer embroidery has become an increasingly popular craft among hobbyists and professionals alike, especially in the United States. With the rise of digital technology, creating intricate and personalized designs has never been easier. For beginners, the process might seem daunting, but with the right tools and guidance, it can be a rewarding and creative endeavor. This article outlines the essential steps to get started with computer embroidery in the US, making it accessible for anyone interested in this craft.
Understanding Computer Embroidery Basics
Before diving into the steps, it’s important to understand what computer embroidery entails. This technique involves using specialized software to design patterns and then transferring them to an embroidery machine. The machine uses threads to stitch the design onto fabric, resulting in a detailed and professional-looking piece. In the US, many enthusiasts use either home embroidery machines or commercial-grade equipment, depending on their needs and budget.
The first step is to choose the right embroidery software. Popular options include Wilcom, Embird, and PE Design, which allow users to create, edit, and manipulate designs. These programs are available for purchase or as free trials, making it easy for beginners to experiment before committing to a purchase. Once the software is set up, the next step is to select or create a design that suits the project.
Choosing the Right Equipment
After mastering the basics of design creation, the next crucial step is acquiring the appropriate equipment. A computerized embroidery machine is essential, and there are several models available in the US market. Brands like Brother, Janome, and Singer offer a range of machines tailored for both home and professional use. These machines typically come with USB ports, allowing direct transfer of designs from the computer to the machine.
In addition to the machine, you’ll need embroidery hoops, needles, and high-quality thread. Hoops help keep the fabric taut while stitching, ensuring even and precise results. Needles should be selected based on the type of fabric being used, as different materials require different needle sizes. Thread quality is also vital, as low-quality threads can break during the stitching process, leading to frustration and wasted time.
Preparing the Design for Embroidery
Once the equipment is ready, the next step is preparing the design for embroidery. This involves converting the chosen design into a format compatible with the embroidery machine. Most software programs allow users to adjust the size, color, and complexity of the design before exporting it. It’s important to ensure that the design is optimized for the specific machine being used, as some machines have limitations on the number of stitches or colors they can handle.
Another key consideration is the placement of the design on the fabric. Using a hoop, the fabric is secured in place, and the design is positioned according to the user’s preference. Some machines have built-in stabilizers or allow for the use of additional stabilizers to prevent puckering or distortion during the stitching process. Testing the design on a small piece of fabric before starting the final project is highly recommended to identify any potential issues.
Stitching the Design
With the design prepared and the fabric secured, the next step is to begin stitching. Loading the design onto the machine is typically done via a USB drive or directly through a connected computer. Once the design is loaded, the user can start the embroidery process by pressing the start button. The machine will automatically stitch the design, following the pre-set parameters.
During this phase, it’s important to monitor the machine for any signs of malfunction, such as thread jams or skipped stitches. If an issue arises, the machine can usually be paused, and the problem can be addressed before continuing. For complex designs, it may be necessary to change the thread color or adjust the tension settings to achieve the desired result.
Finishing Touches and Care
After the design is stitched, the final step is to remove the fabric from the hoop and trim any excess threads. This is also the time to inspect the finished piece for any imperfections or areas that may need touch-ups. Some users choose to add additional embellishments, such as beads or sequins, to enhance the design further.
Proper care of the finished embroidery is essential to maintain its quality over time. Washing the piece gently and avoiding harsh chemicals can help preserve the colors and integrity of the stitches. For more delicate fabrics, dry cleaning may be recommended.
Conclusion
Computer embroidery offers a unique blend of creativity and technology, making it an appealing craft for beginners in the US. By following these steps—understanding the basics, choosing the right equipment, preparing the design, stitching the project, and finishing with care—newcomers can successfully create beautiful and personalized embroidered pieces. With practice and patience, the possibilities are endless, and the satisfaction of completing a custom design is truly rewarding.
